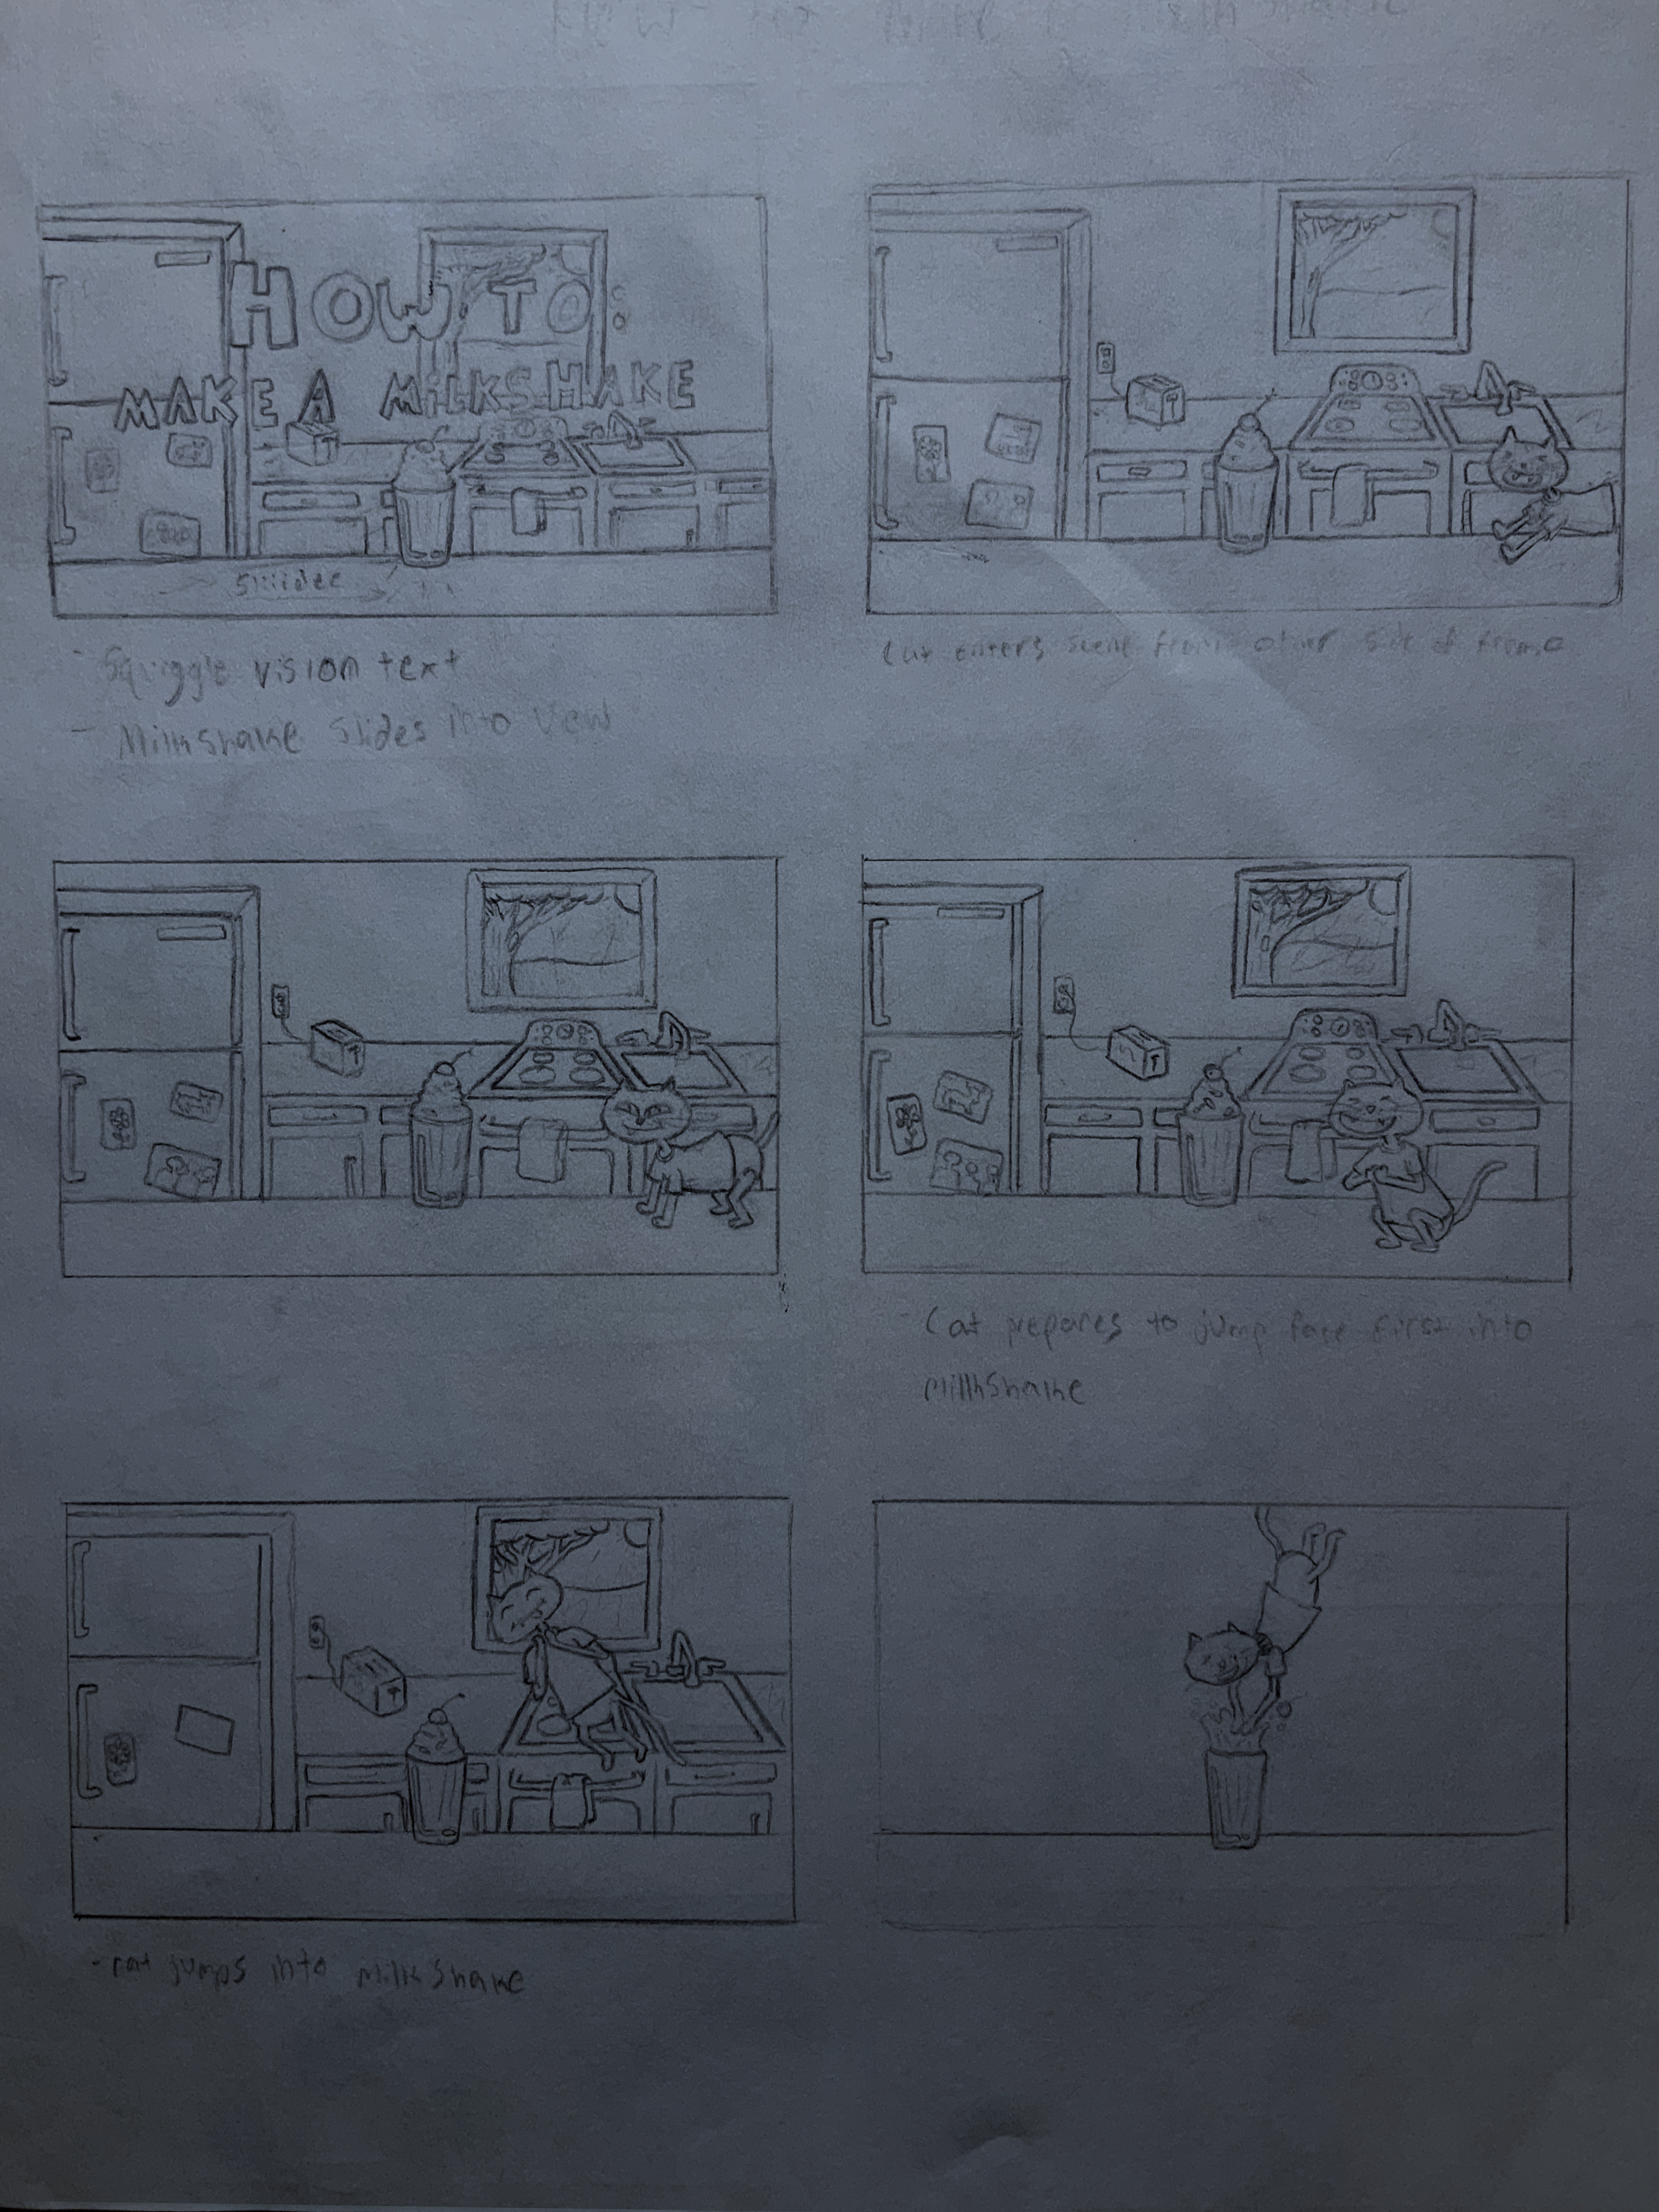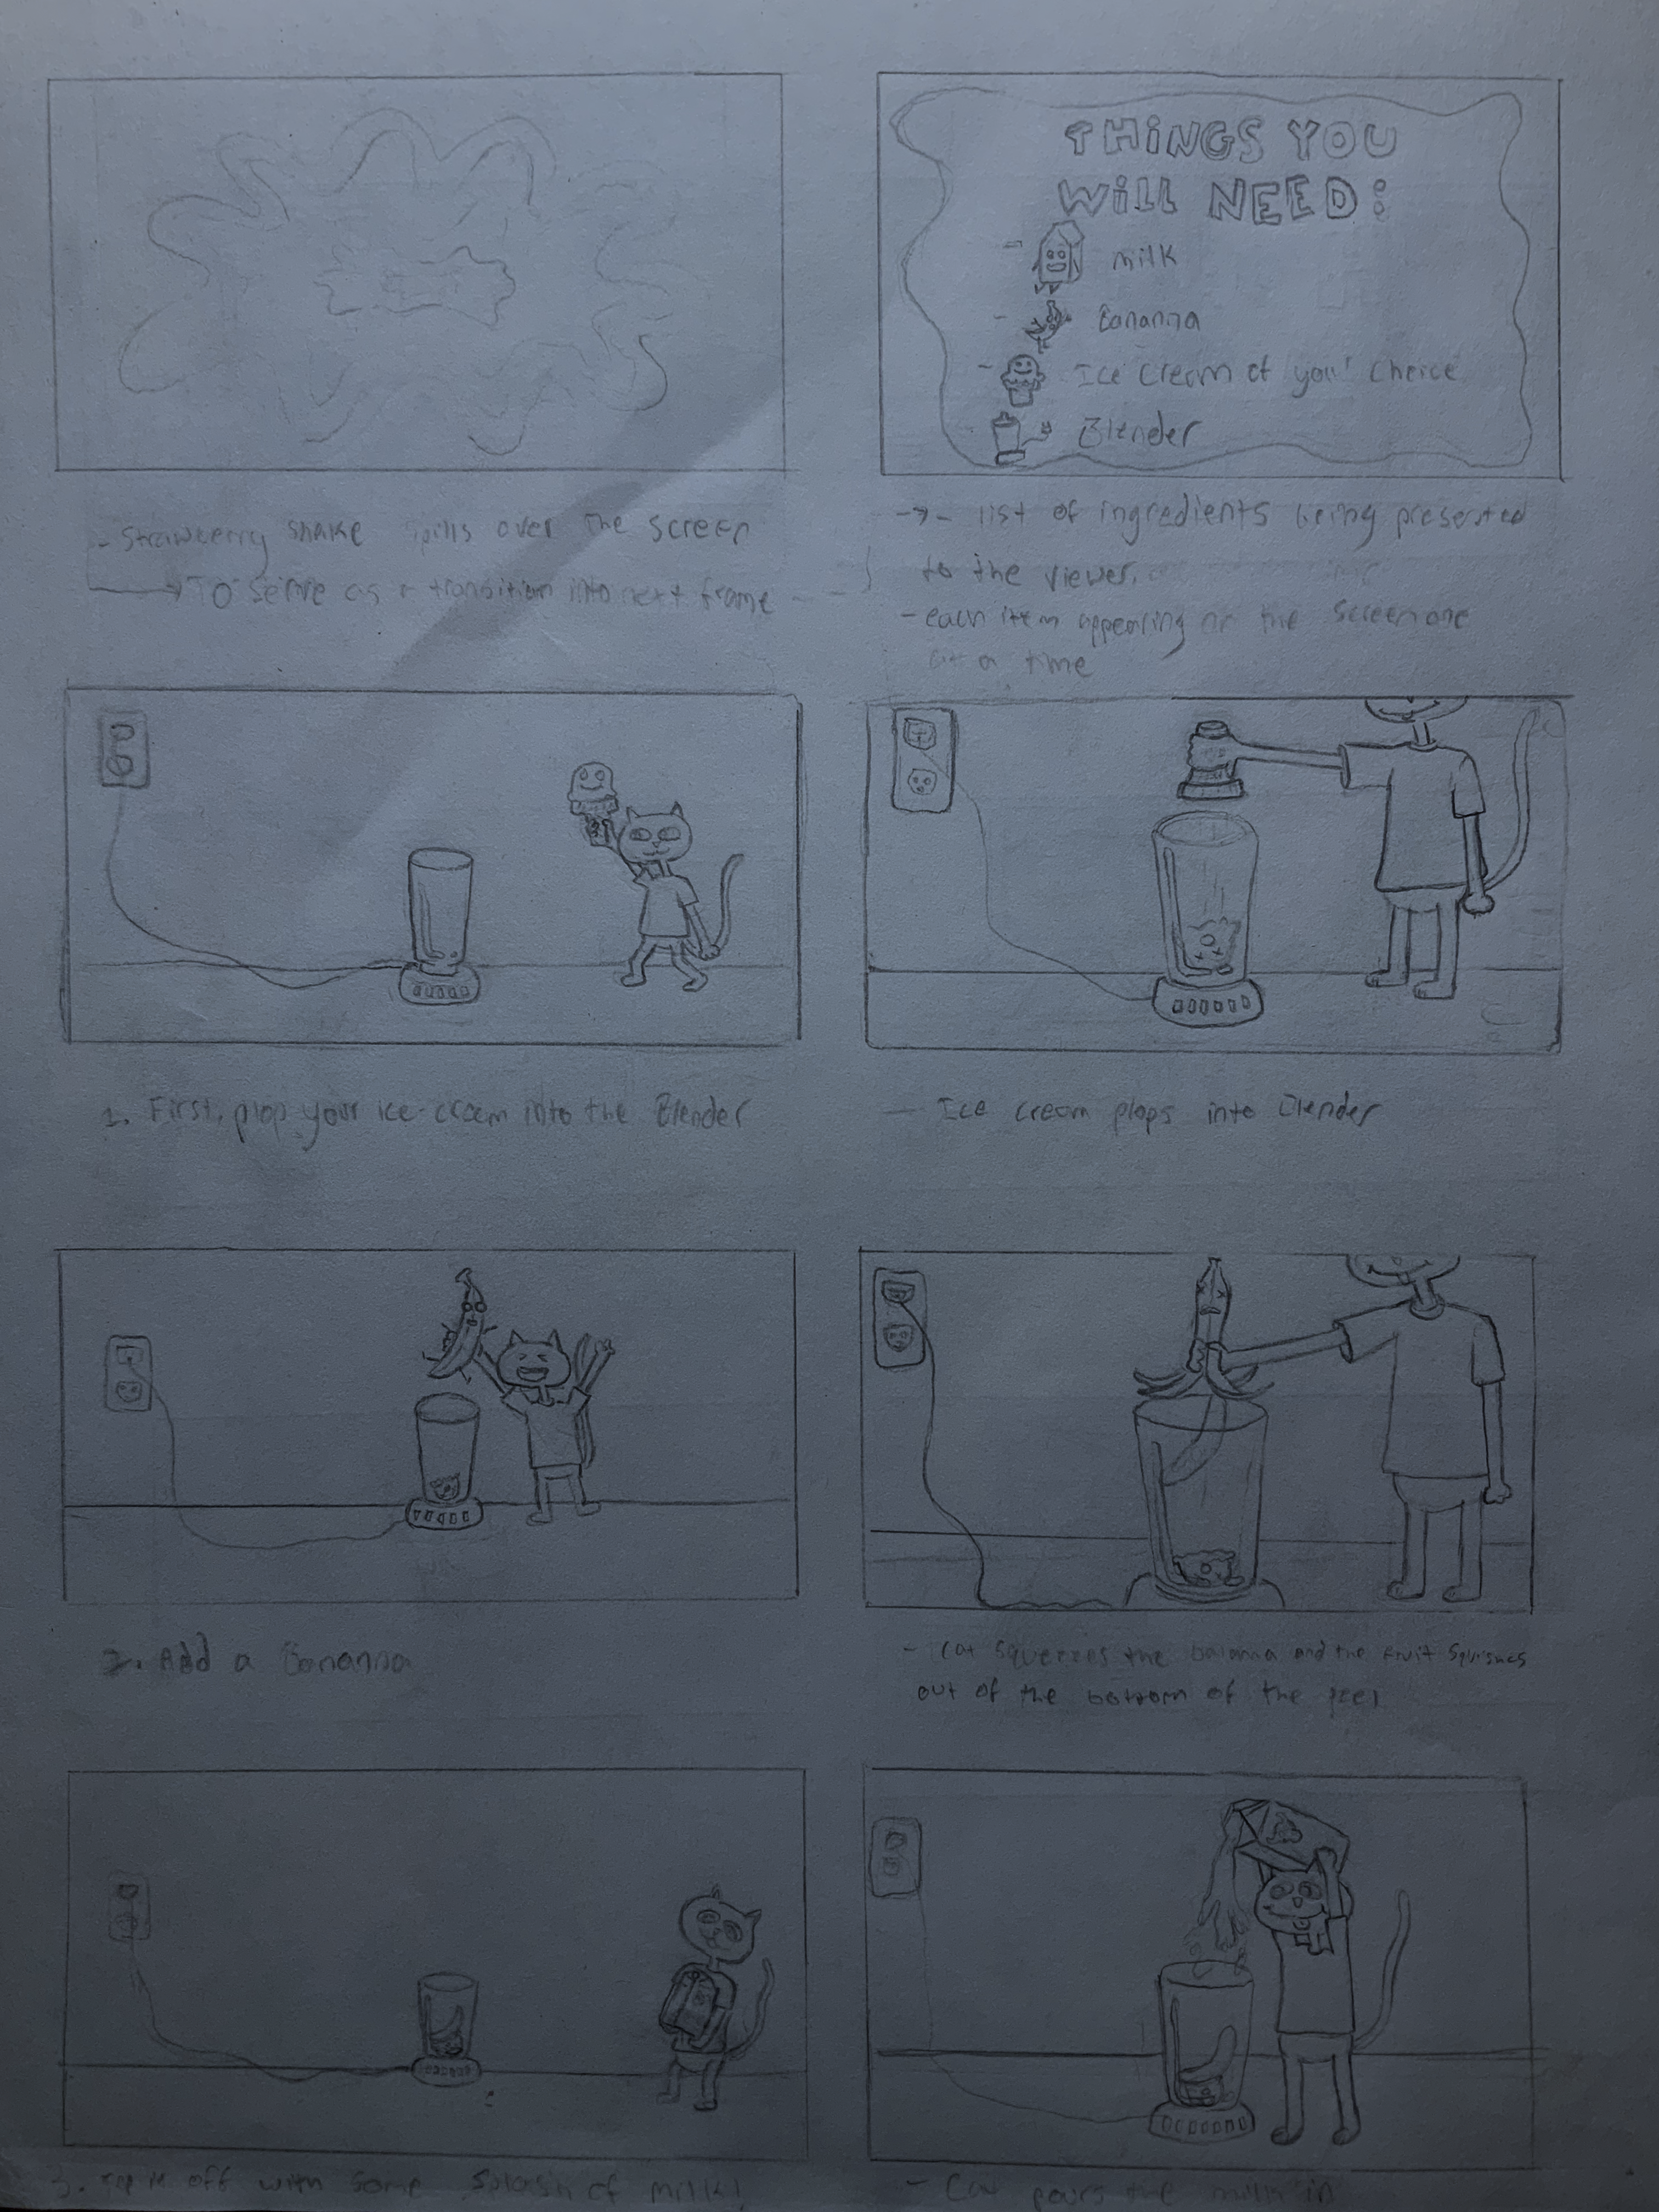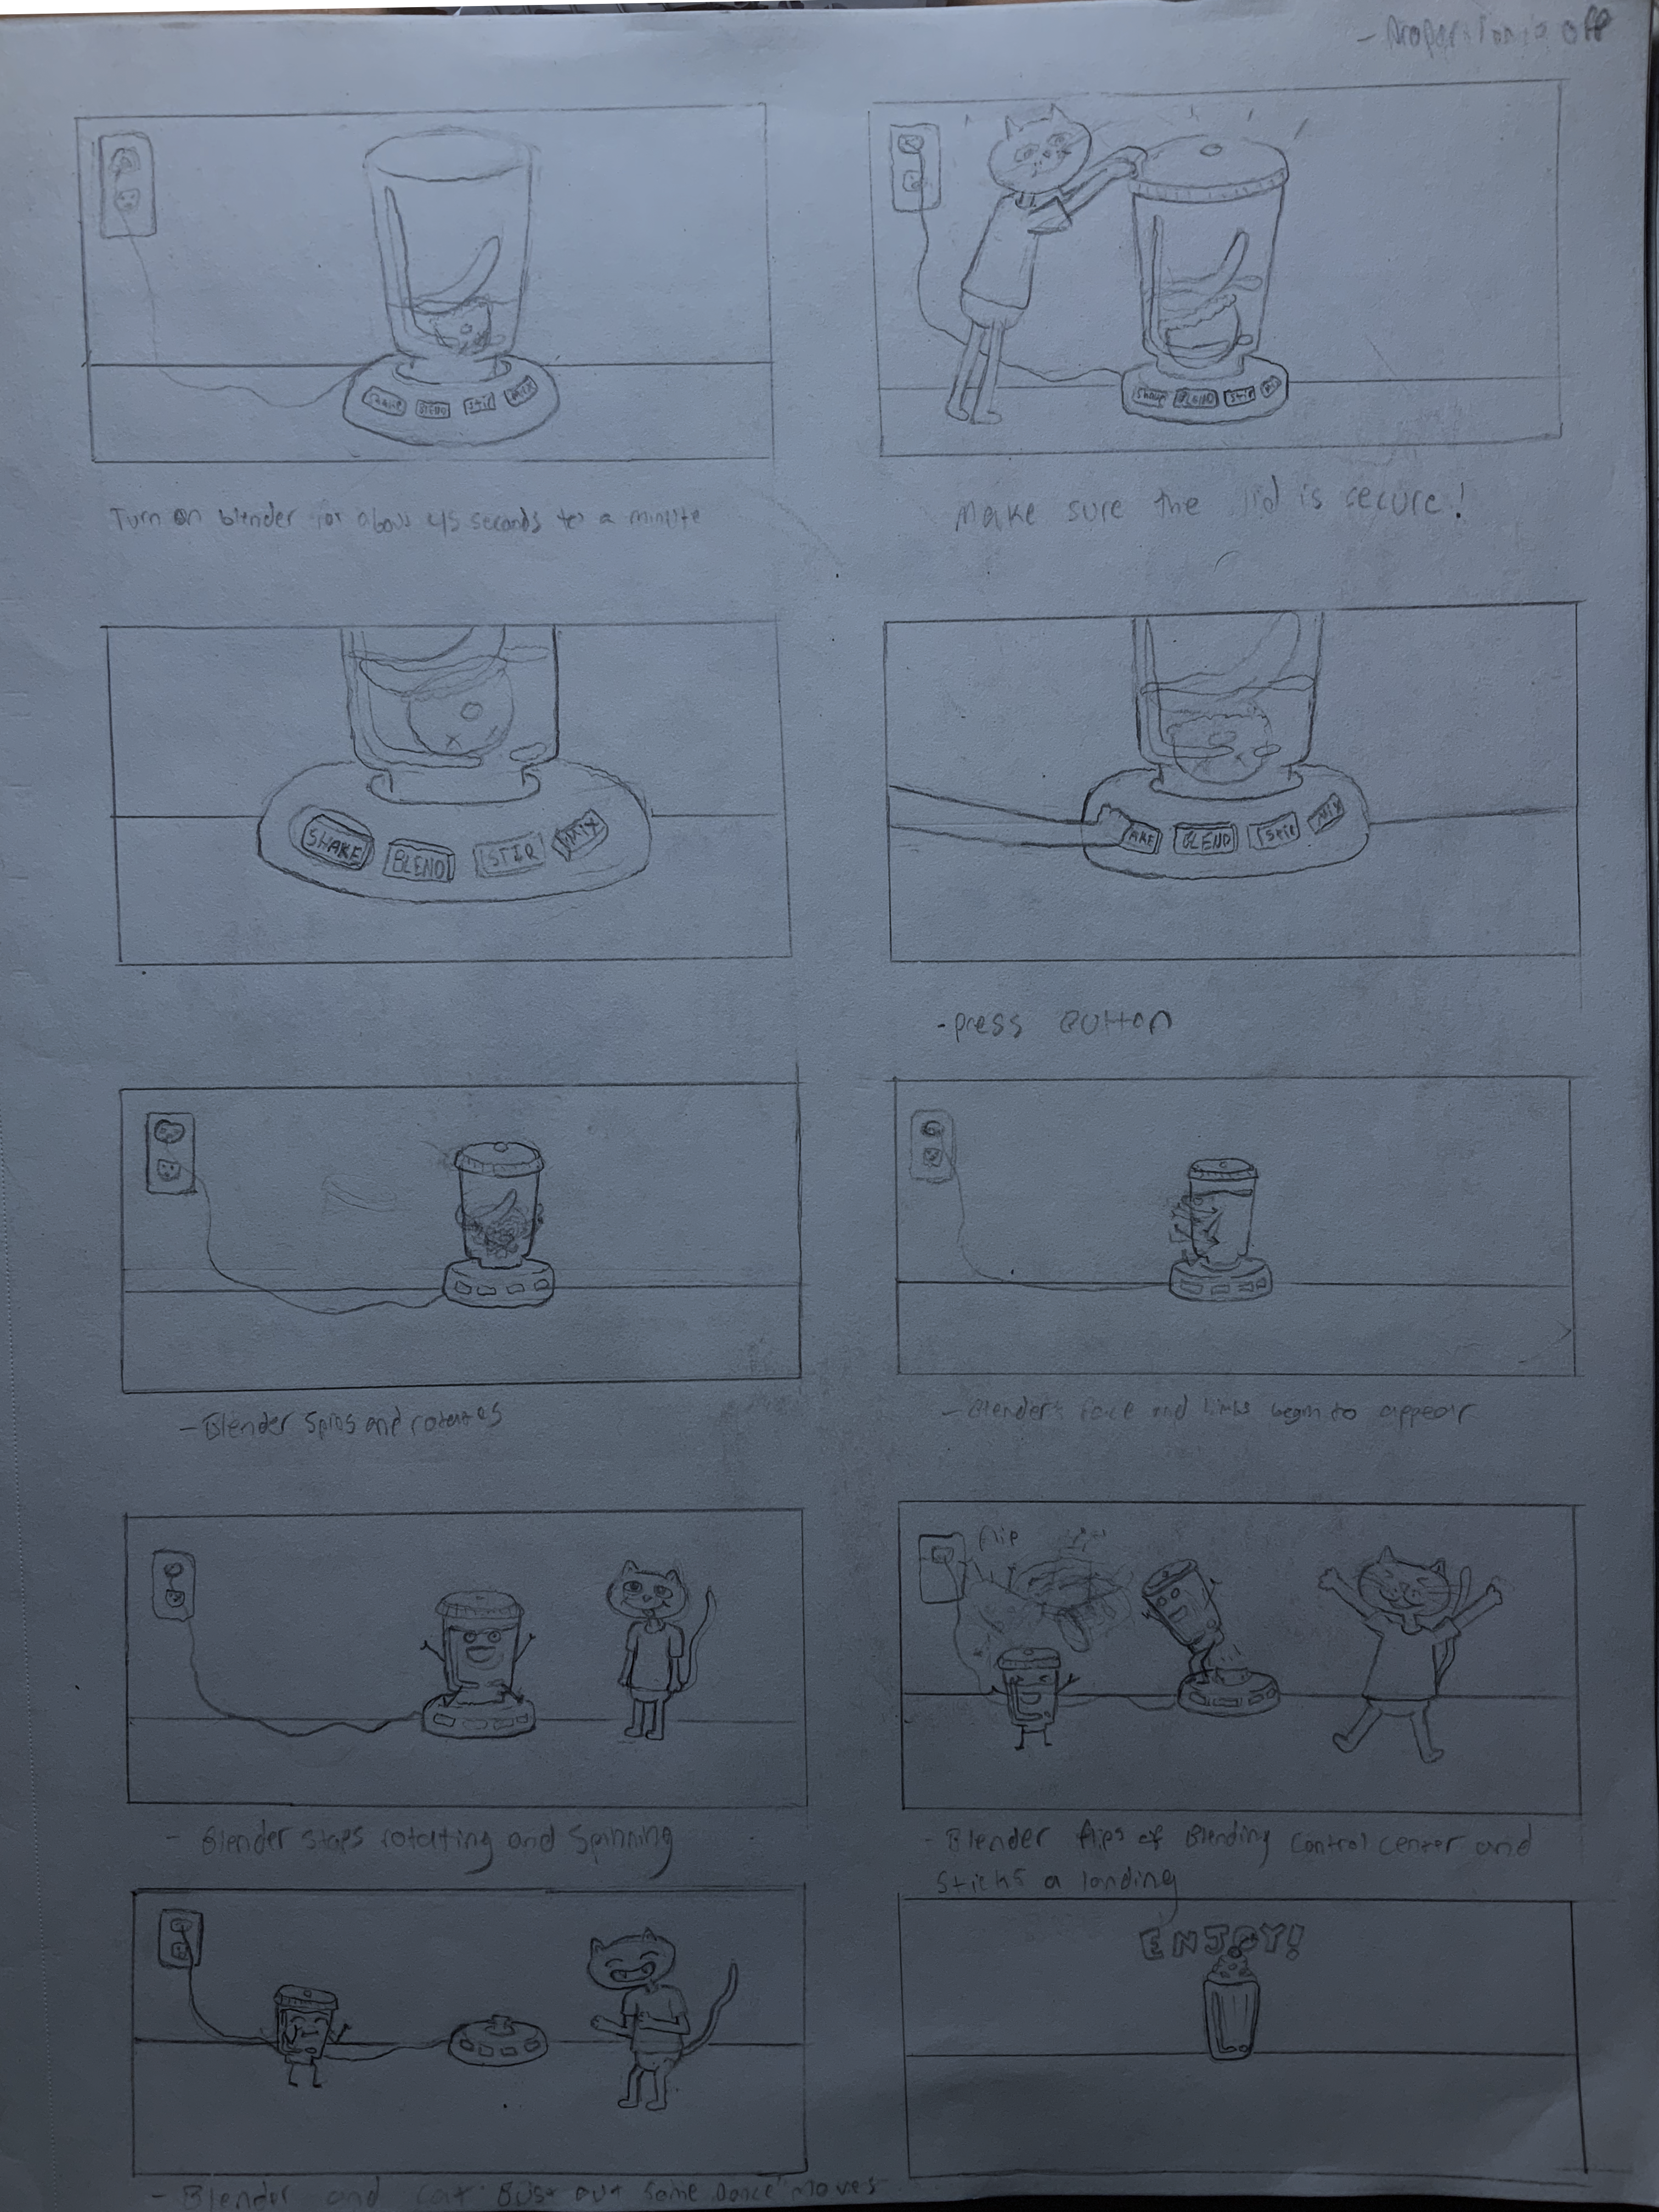
Storyboard
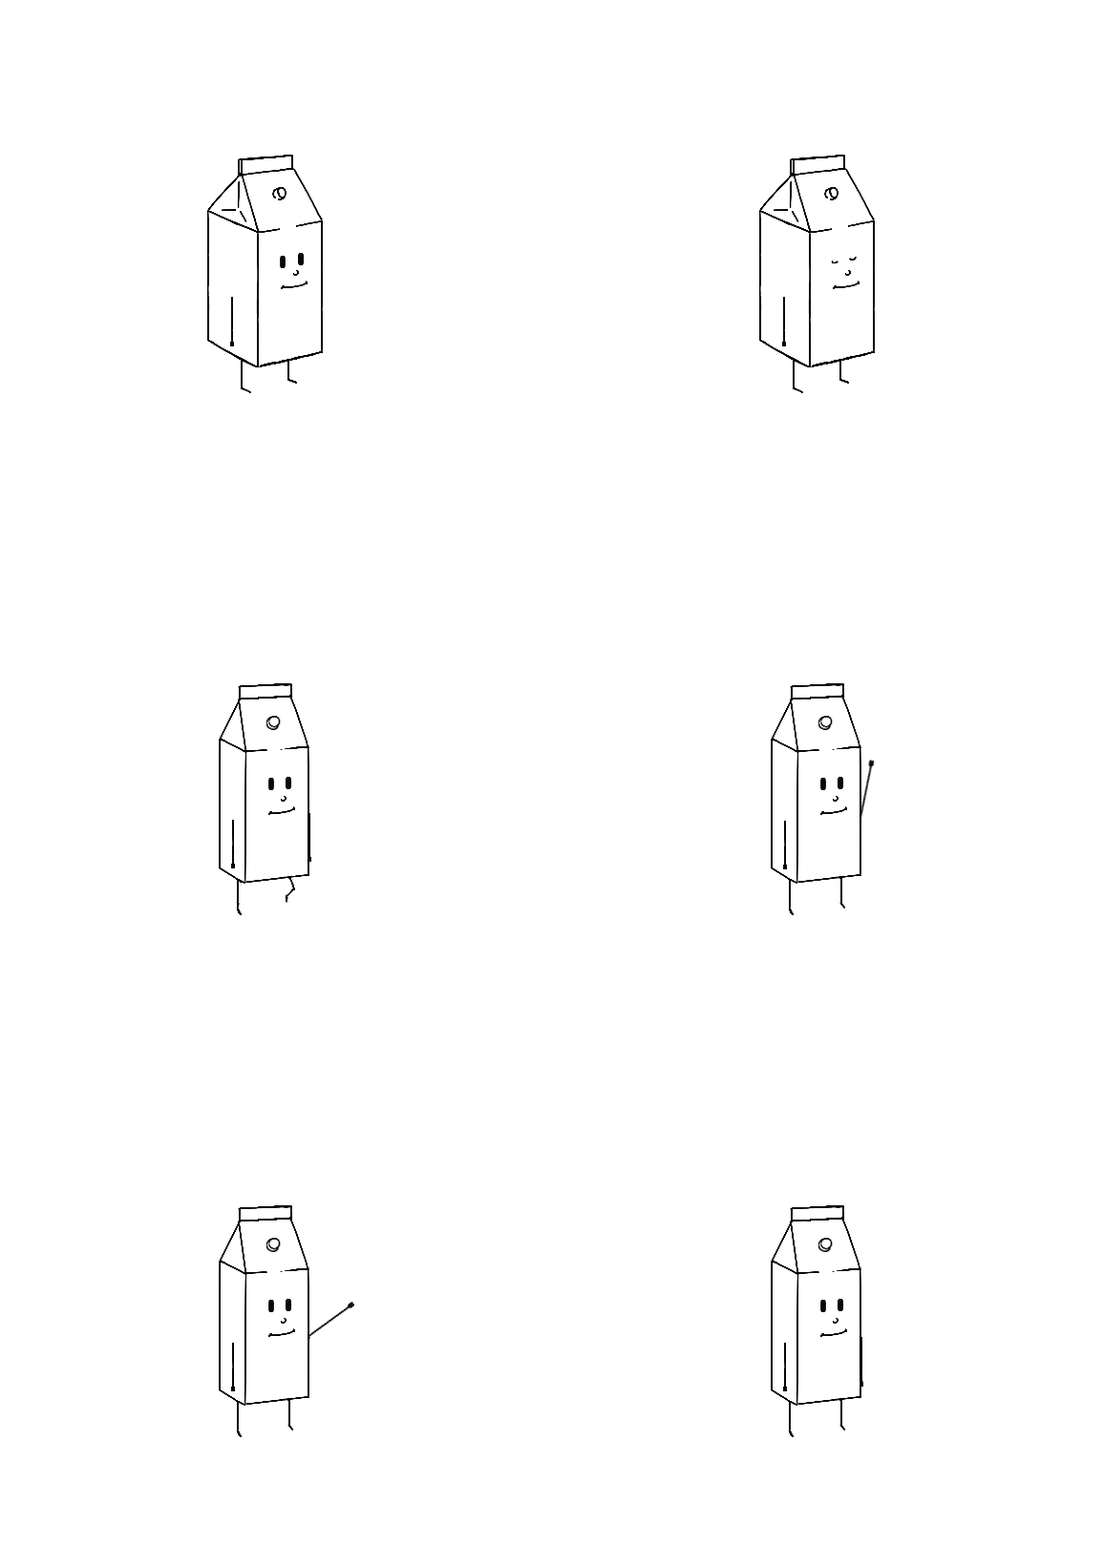
I have found that the most effective strategy to begin any project, begins with fleshing out my ideas through putting pencil to paper. Although these drawings may be nothing more than just a bunch of doodles, they served a very important role in helping me get into the right head space for designing the visual elements of this project.
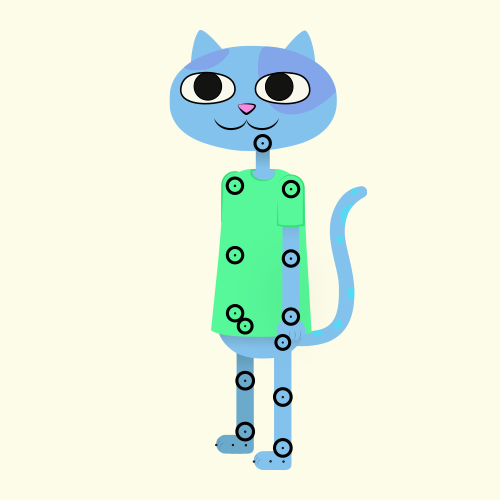
Character Rigging
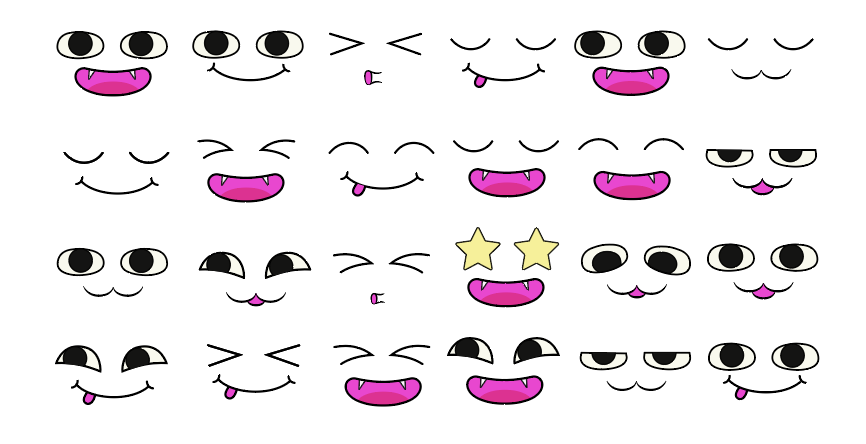
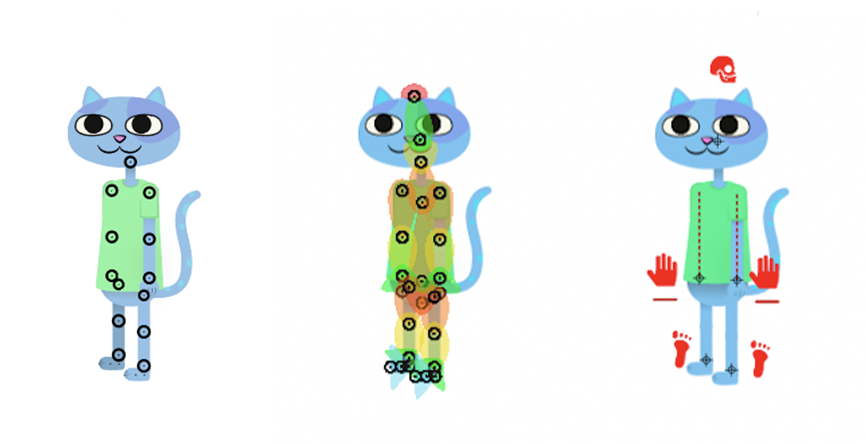
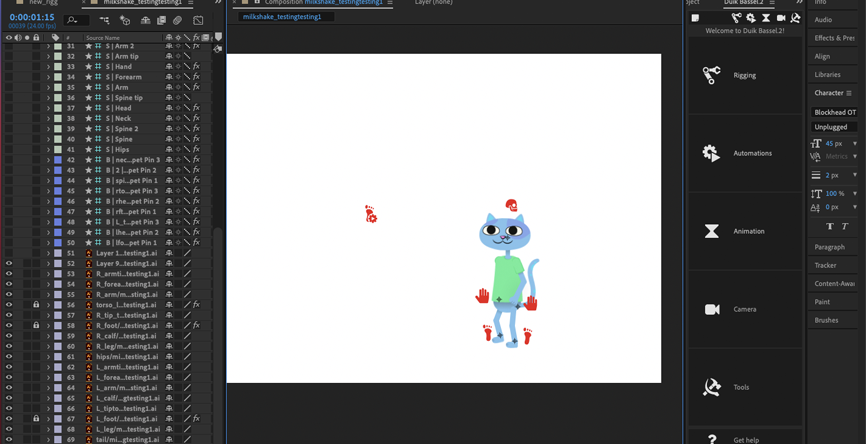
Through carefully creating overlapping artwork layers that make up the characters limbs and joints, I was able to utilize the capabilites of the Duik Bassel plugin to manipulate the character's body parts as if I were a puppeteer. Additionally, I had created a library of facial expressions, which allowed for the character to posses a more emotive quality.
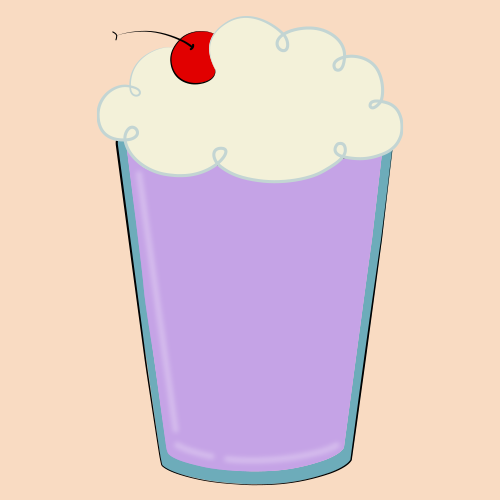
Assets
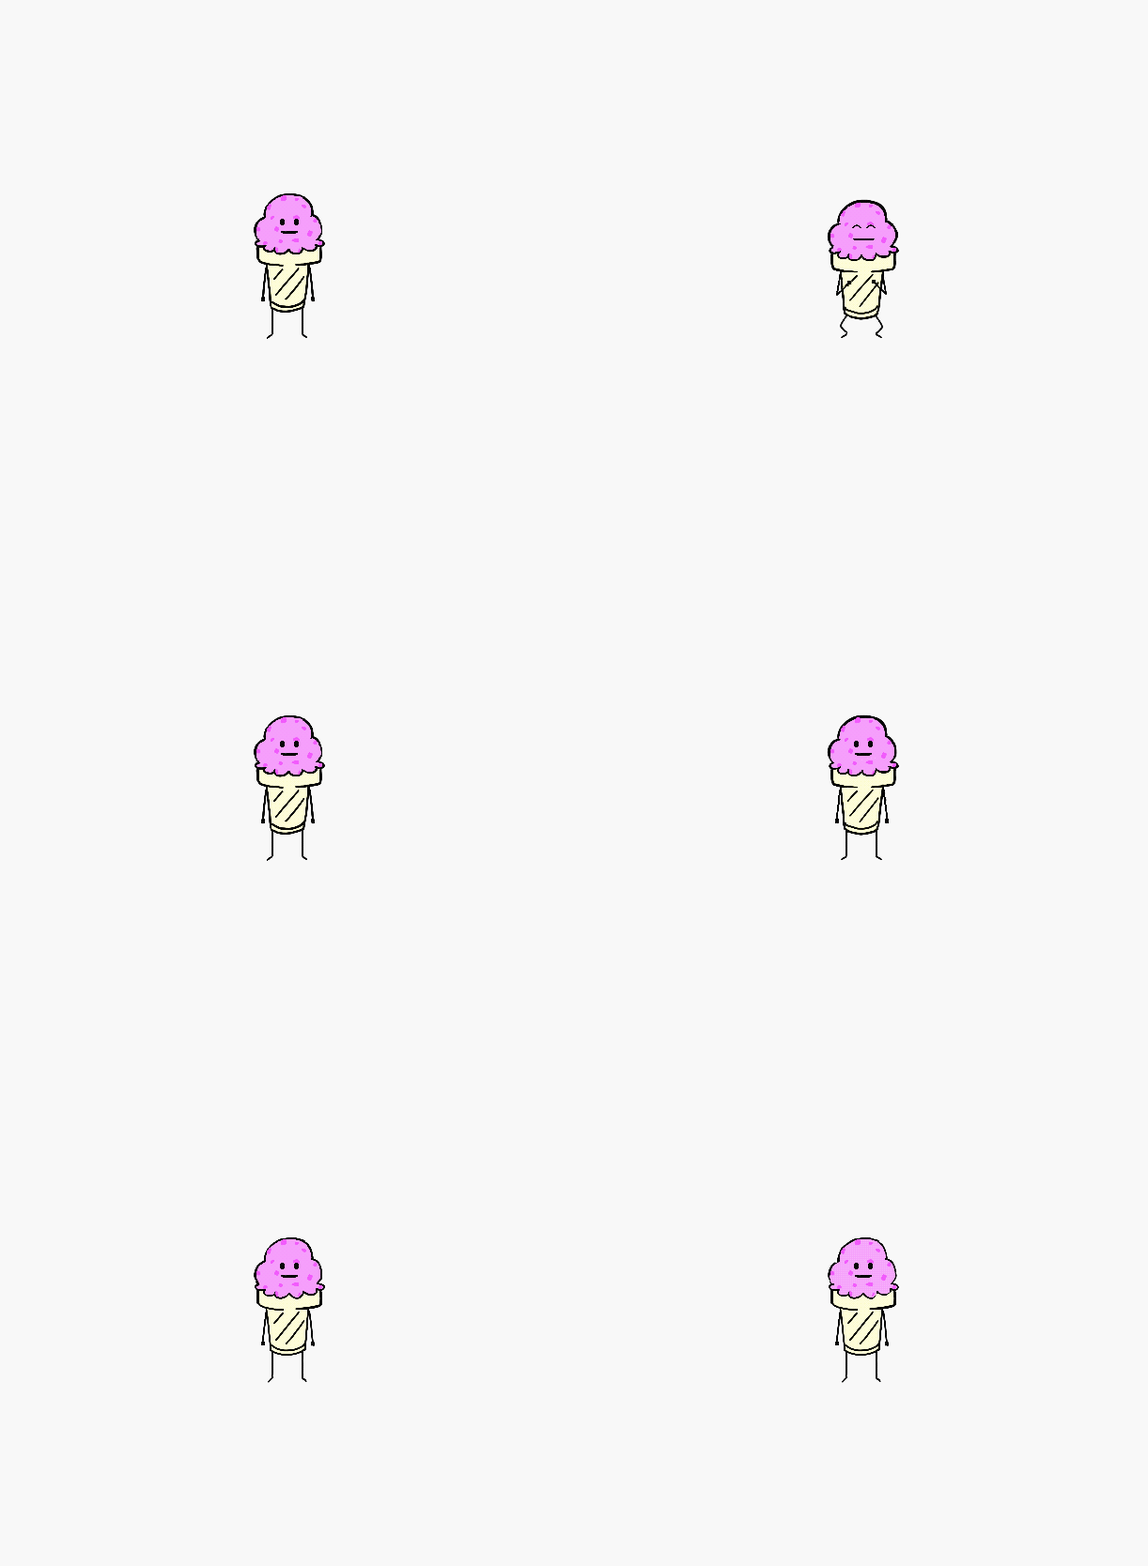
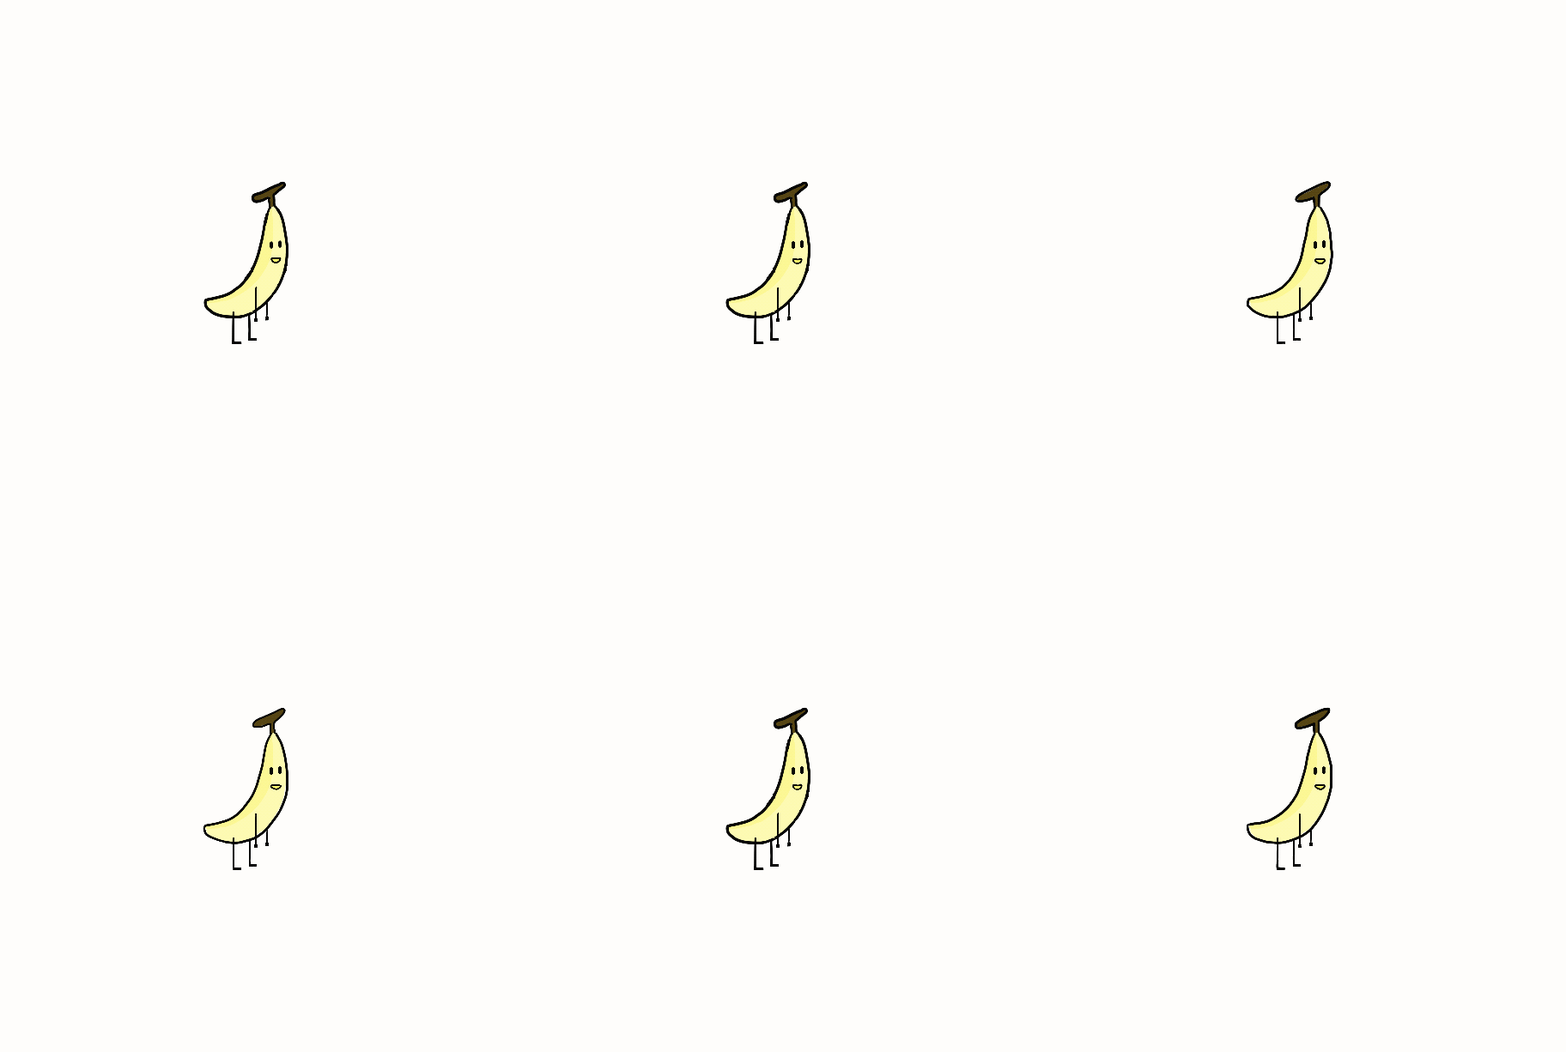
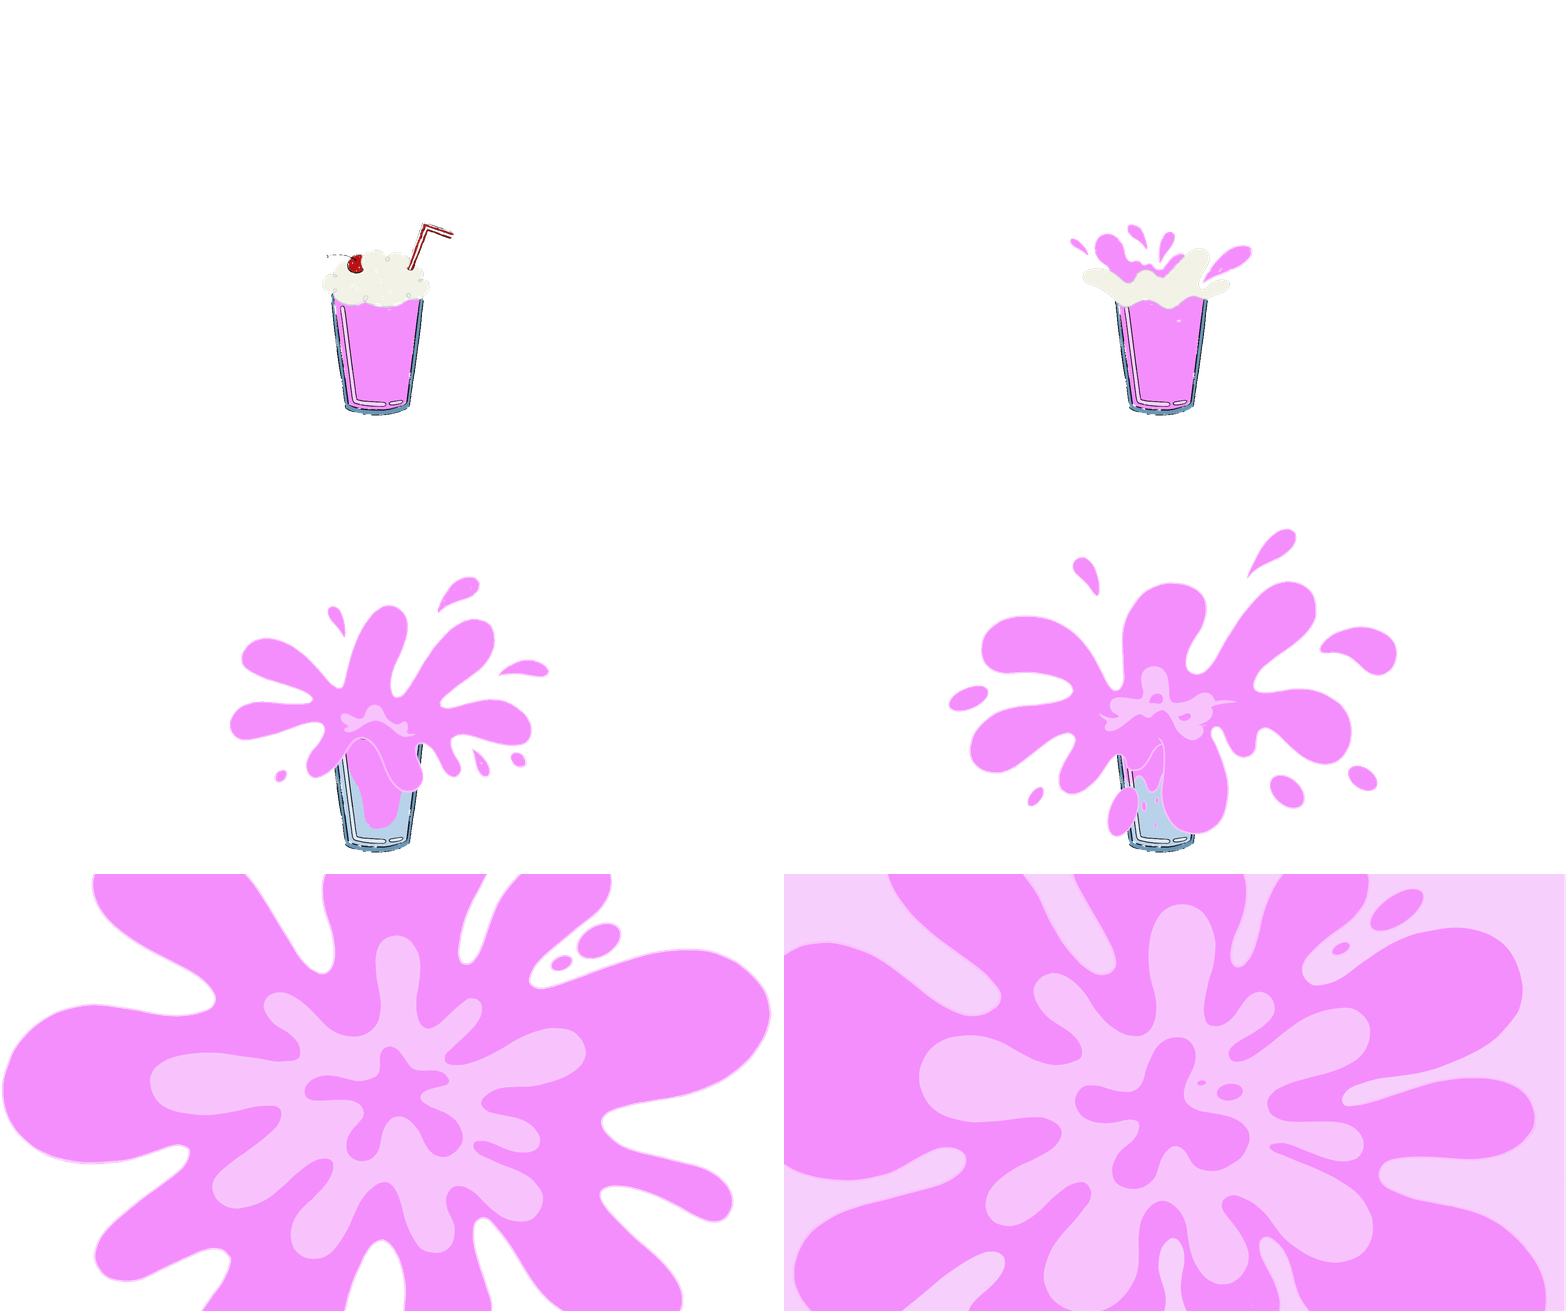
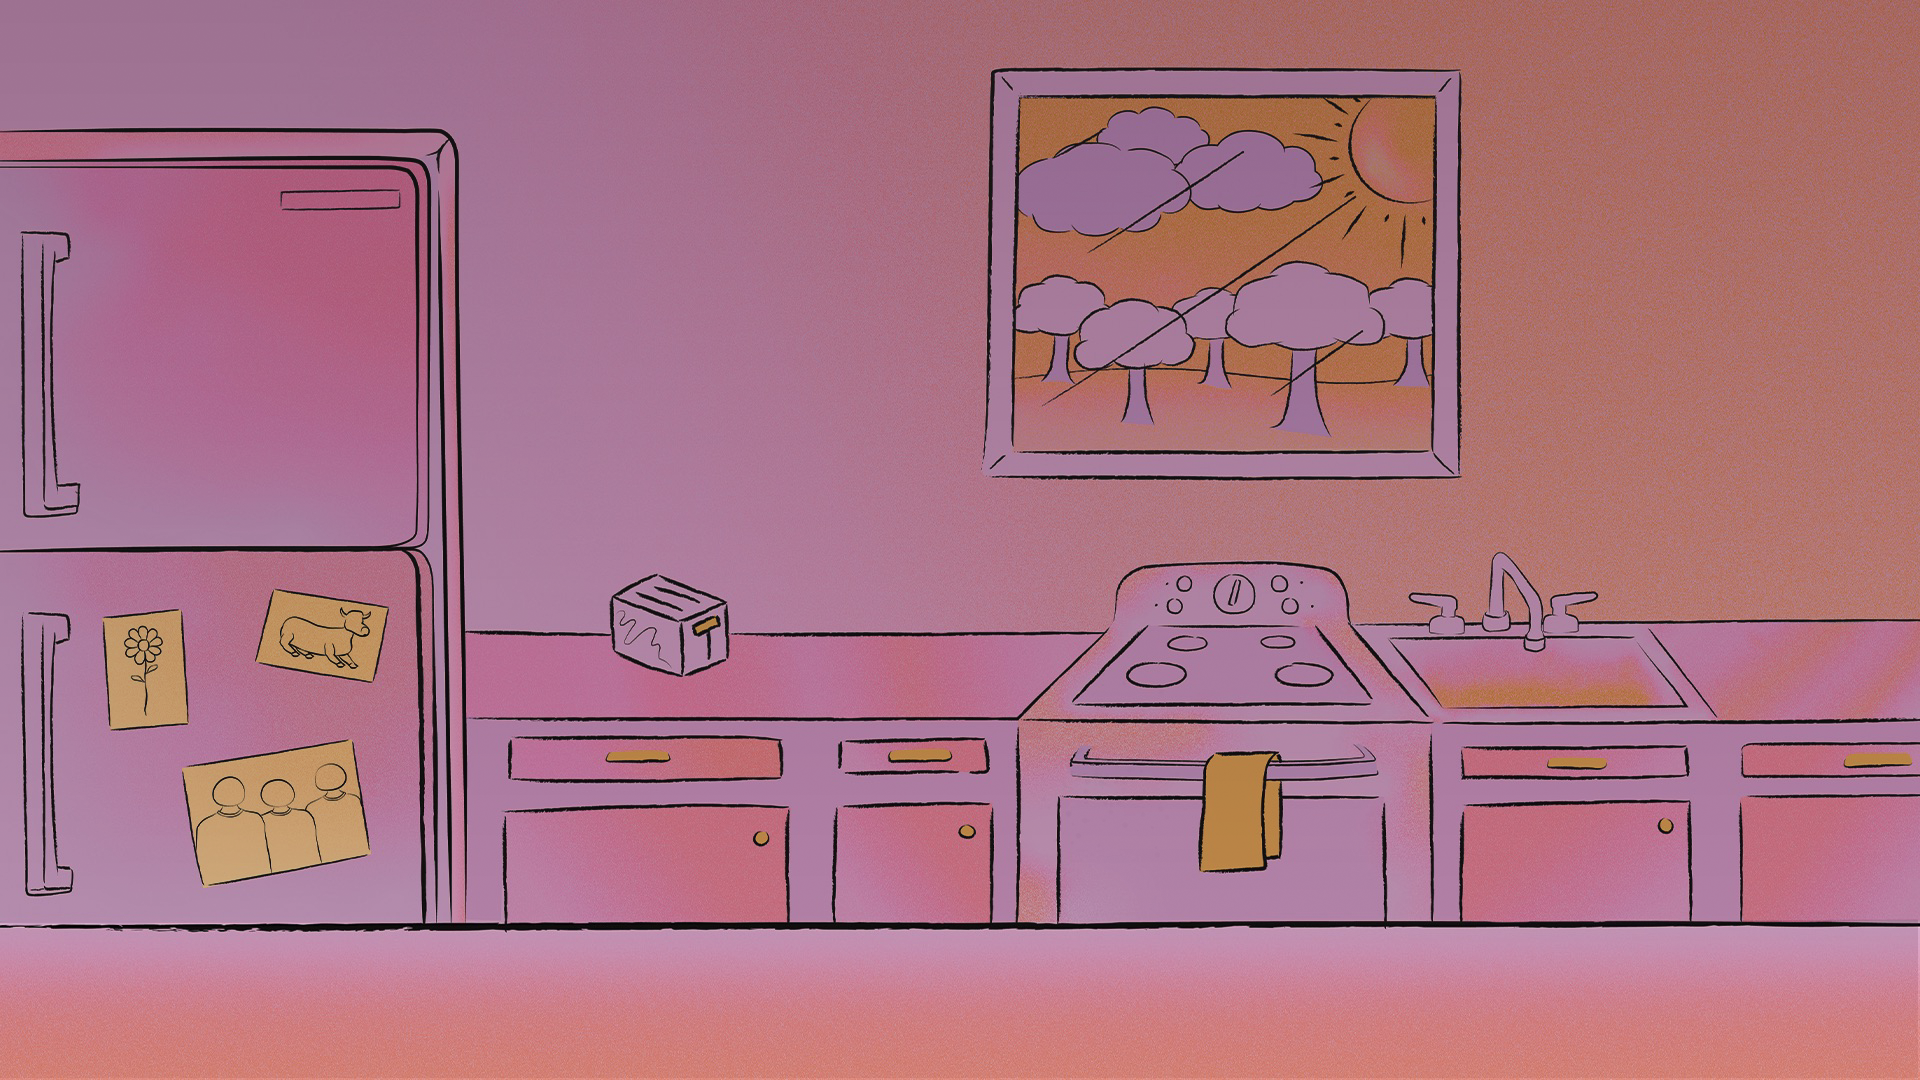
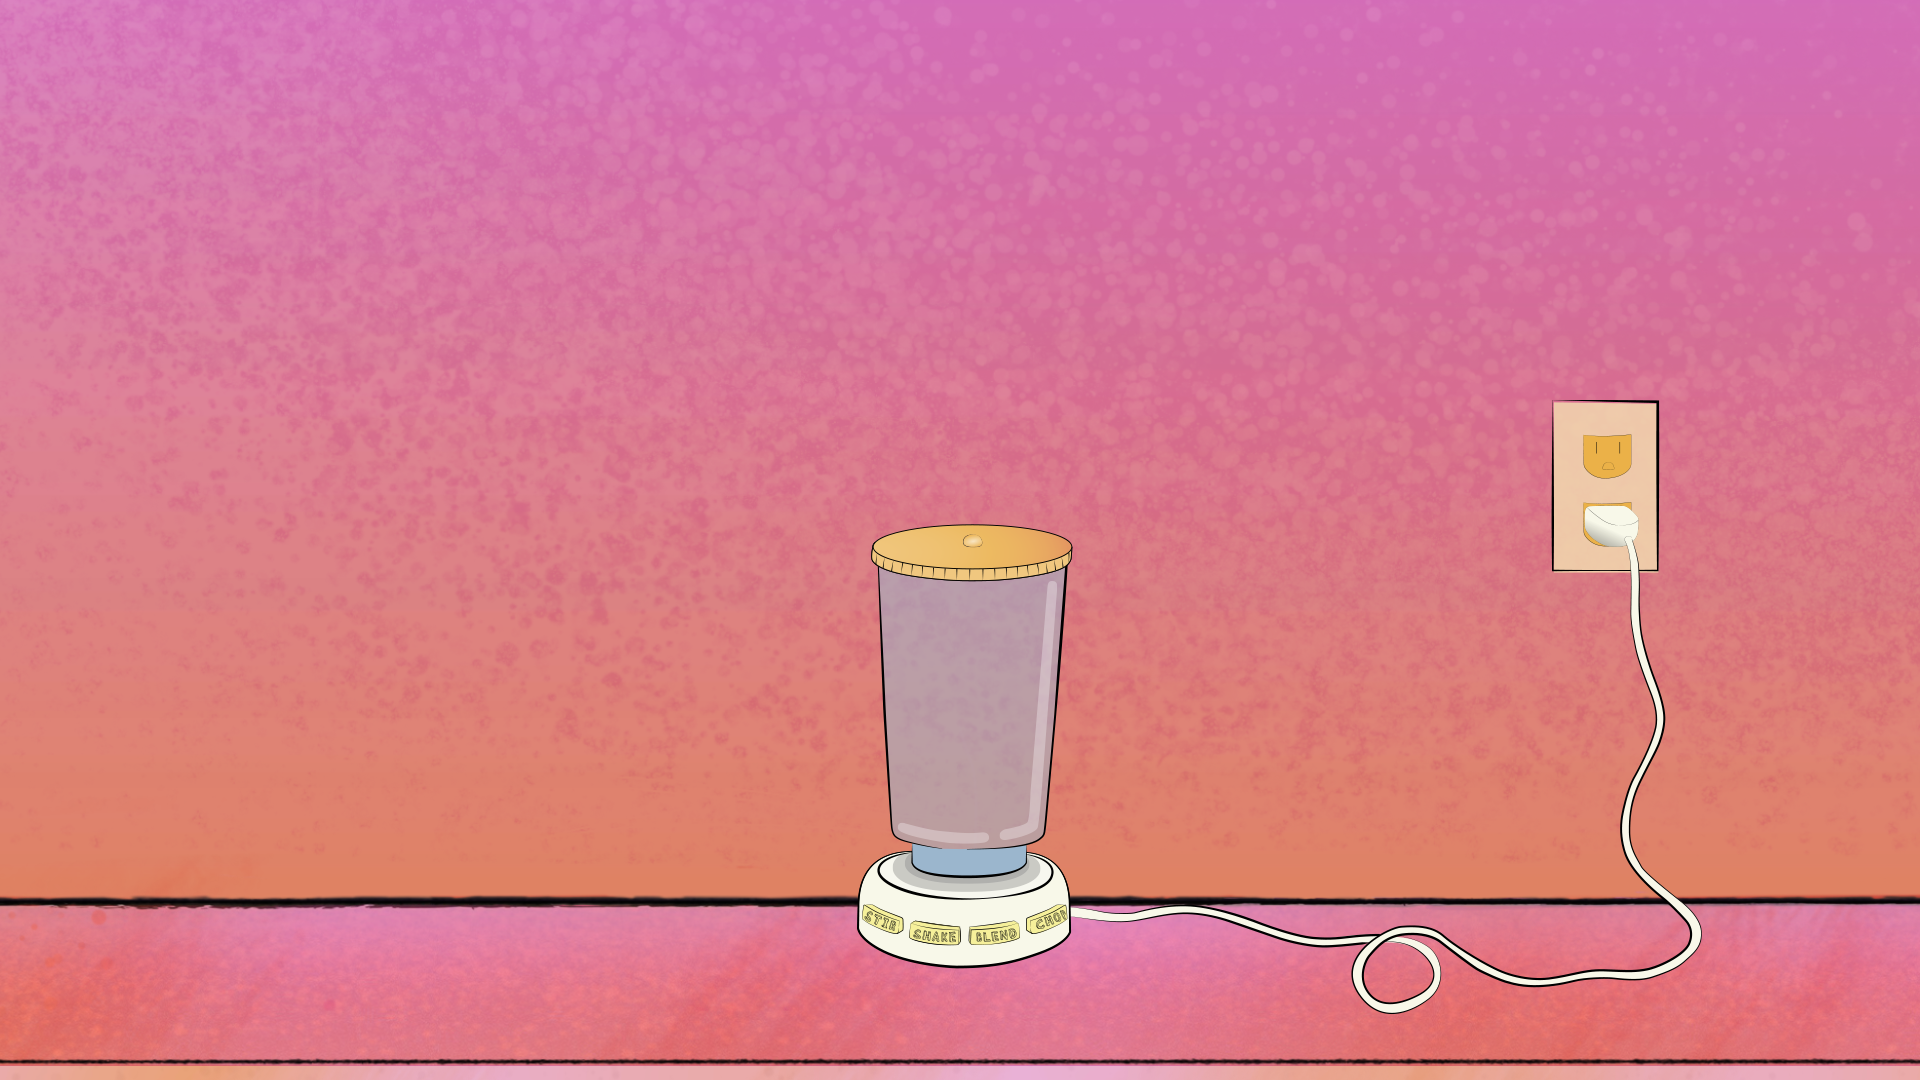
Many of the additional compositional assets that I made for this animation were created on an Ipad. I had a lot of fun using the animation assist feature in Procreate to make hand drawn animated gifs of text and mini characters. Additonally, both the blender and the background art were created in Adobe Illustrator.
